Housatonic Ridge Trail Overview
The Housatonic Ridge Trail to Candlewood Mountain was a frustrating hike. This was partially due to my lack of preparedness and confusing placards. I did not finish the 6.2-mile point-to-point trail but plan to return soon.
The Housatonic Ridge Trail is located near New Milford, CT. The trail is 6.2 miles from point to point, and guides list it as “difficult.” Elevation Gain is approximately 1,950 feet, some of the gain relatively steep near the beginning of the hike.
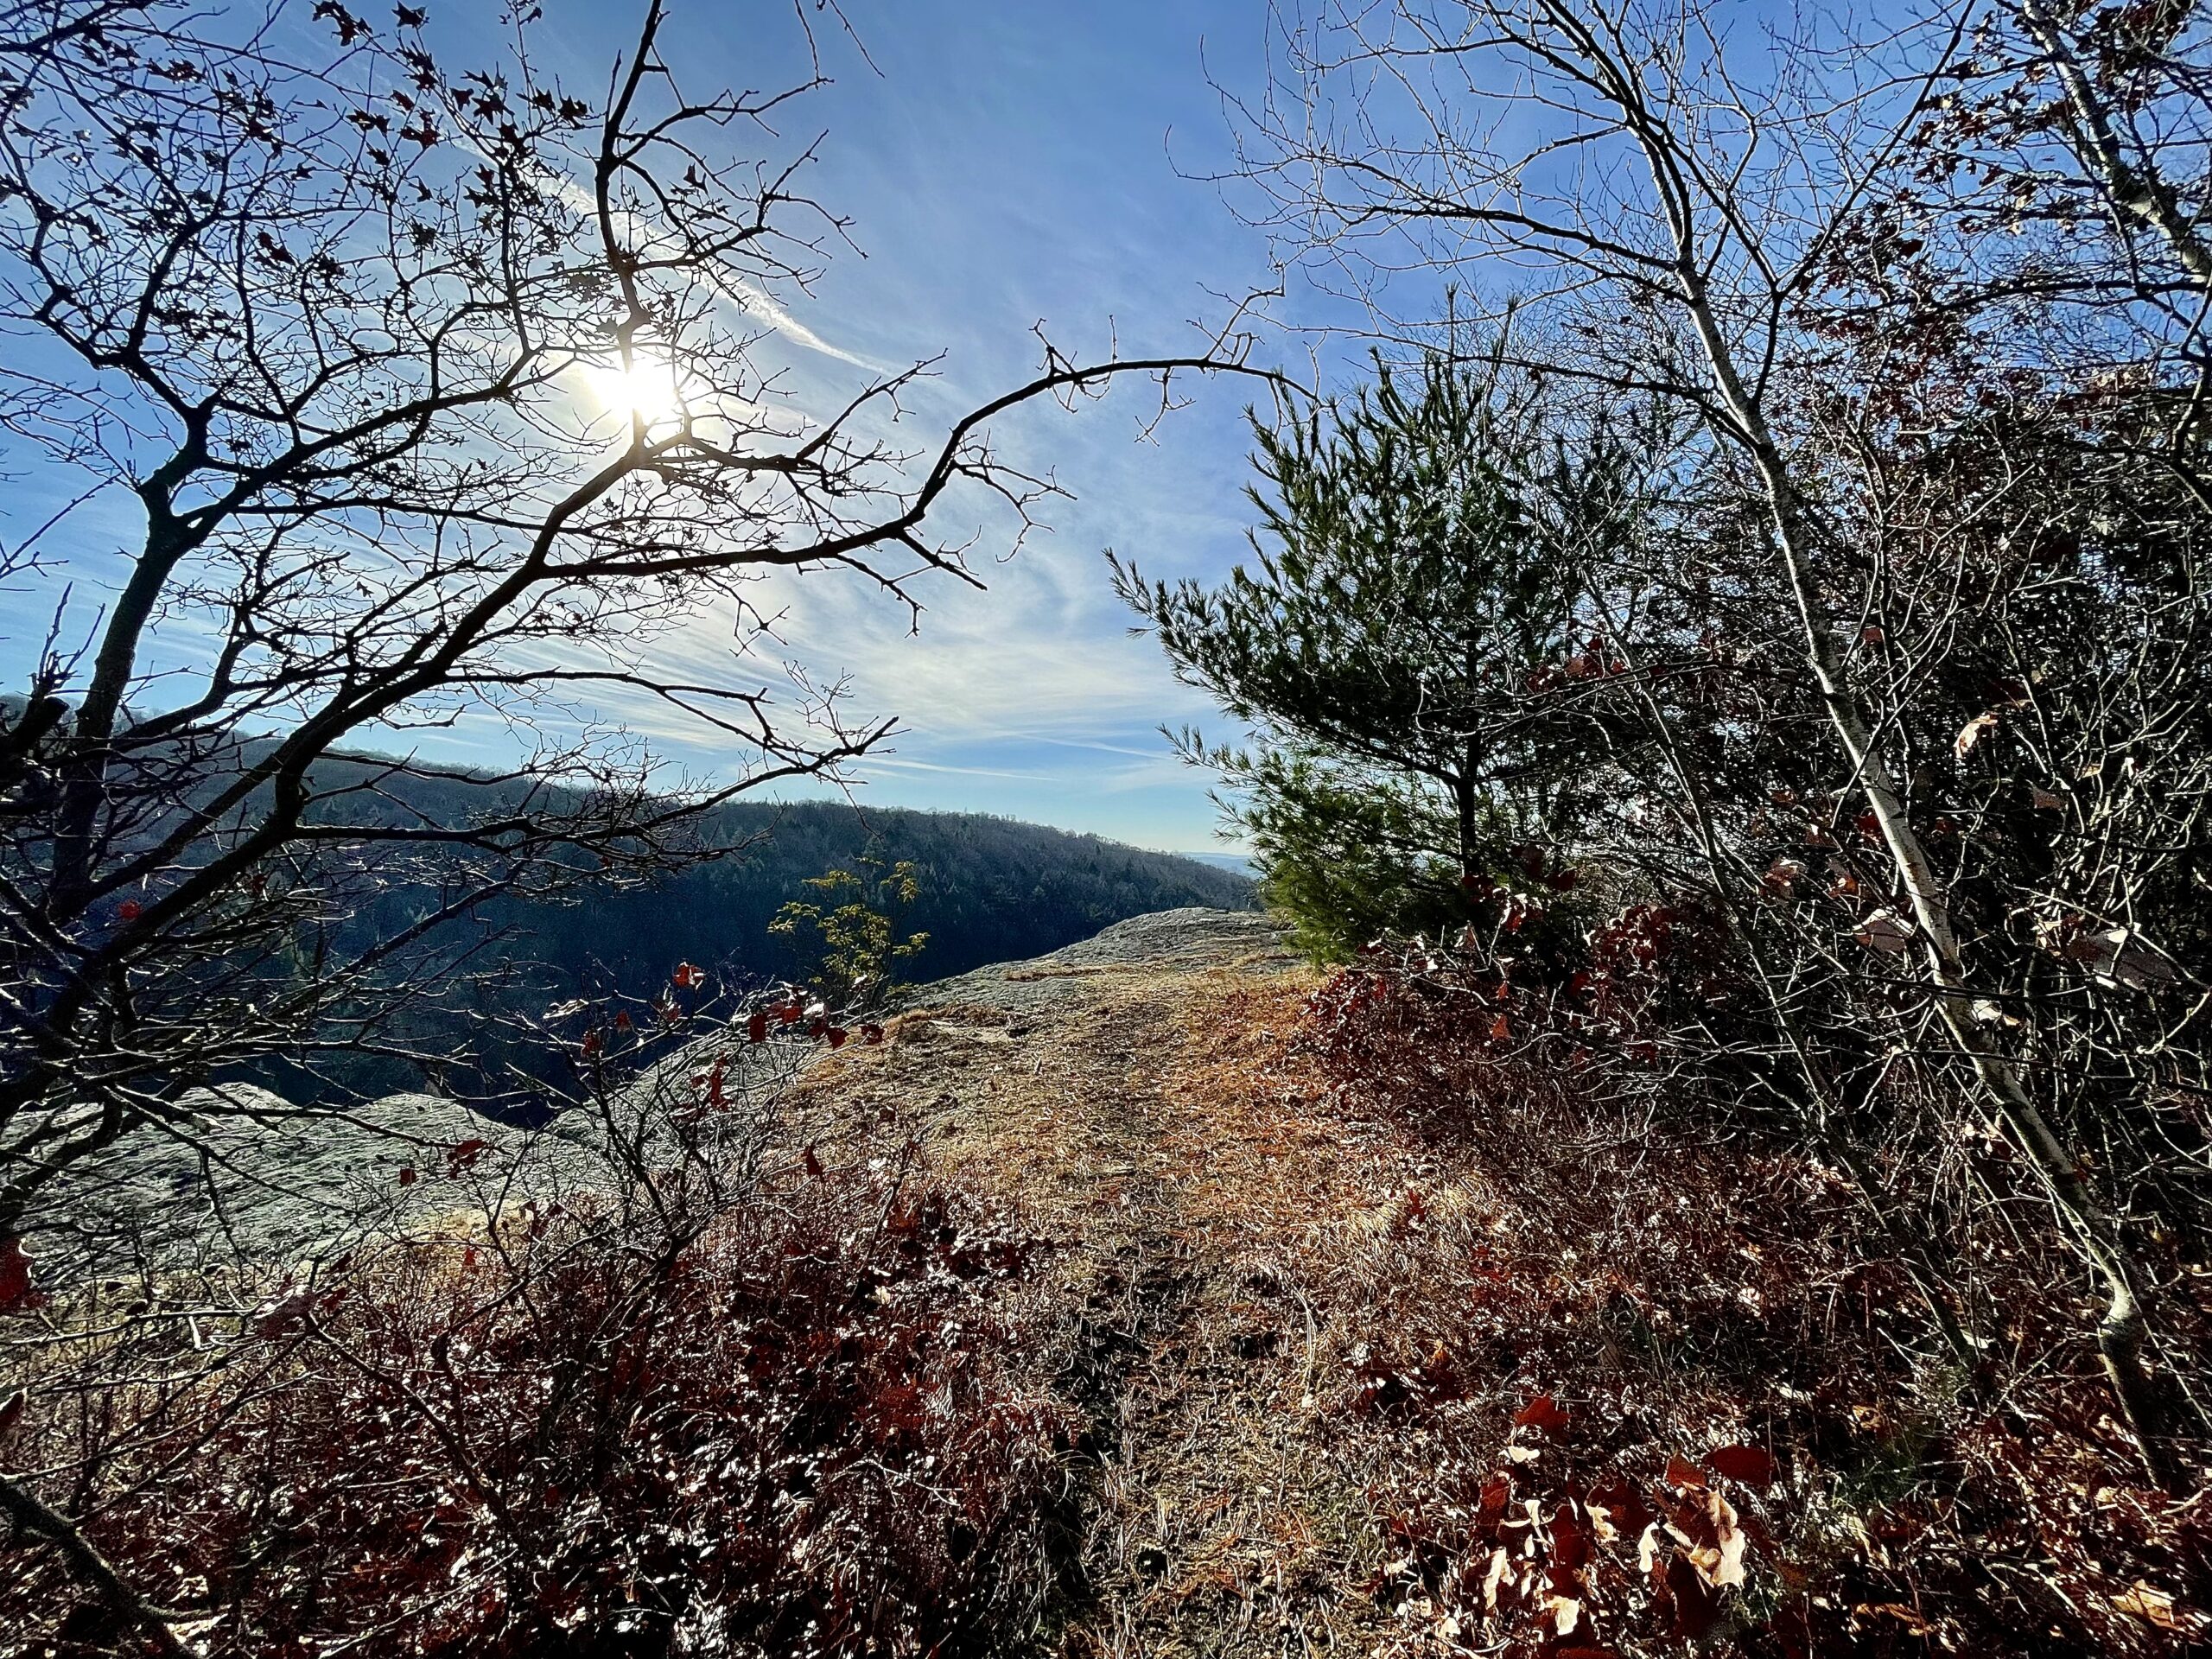
This trail travels above the Housatonic River through the Northwest Highlands, paralleling Route 7. The Trail traverses Boardman Mountain and Pine Knob before ending at Candlewood Mountain. There is also a short blue blaze to Kelly’s Slide on Candlewood Mountain.
Logistics
- Trail Length – 6.2 Miles Point to Point
- Difficulty – Moderate to Difficult
- Start Location – 50 Gaylord Road – 41.631500, -73.483420
- Trail Head – 2-3 cars
- Maps – CFPA Maps
Day Pack
- Nike Day Pack
- Men’s Precip Rain Jacket
- Marmot Wind Shirt
- Petzl Headlamp
- Kora Beanie
- Feathered Friends Helios Down Jacket
- First Aid Kit
- Smart Water Bottles (2)
- Sawyer Filter
- Gerber Knife
- Montbell Women’s Versalite Rain Pants
- Gloves
- Phone Battery
Trailhead
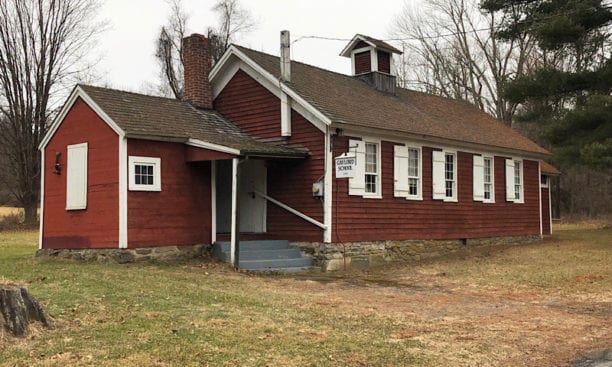
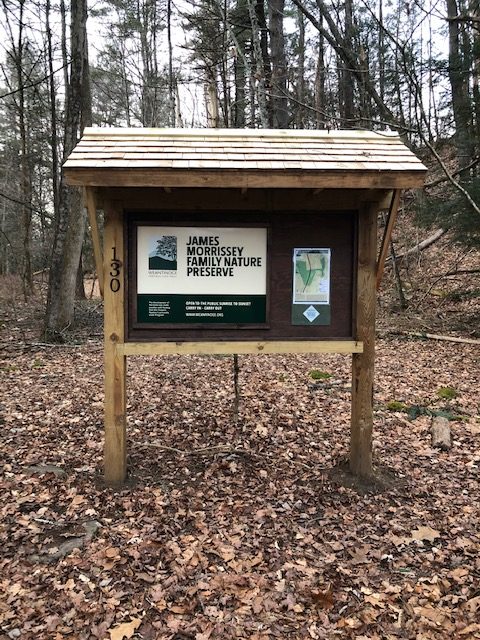
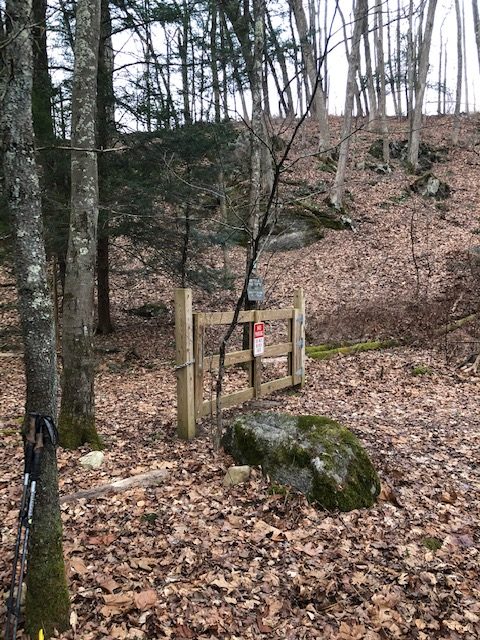
The trailhead was about a quarter of a mile past the address in my GPS after the Gaylord School was built in 1740. There was a new kiosk that made the trailhead easy to spot though, along with a fairly new gate. The Weantinogue Heritage Land Trust maintained the property.
Very little parking is provided since the gate to the road is locked. At most, maybe 2-3 cars can fit in the trailhead parking area. The main road is fairly narrow and curvy, so I would not suggest parking along the side of it. This trailhead definitely does not have the best parking.
Ridge Climb
The trail left the trailhead, following an old woods road for about 100 yards before coming to a clear turnoff for the blue blaze trail. I grinned broadly – “OK, I thought, this will be a clear route.” Jinx!
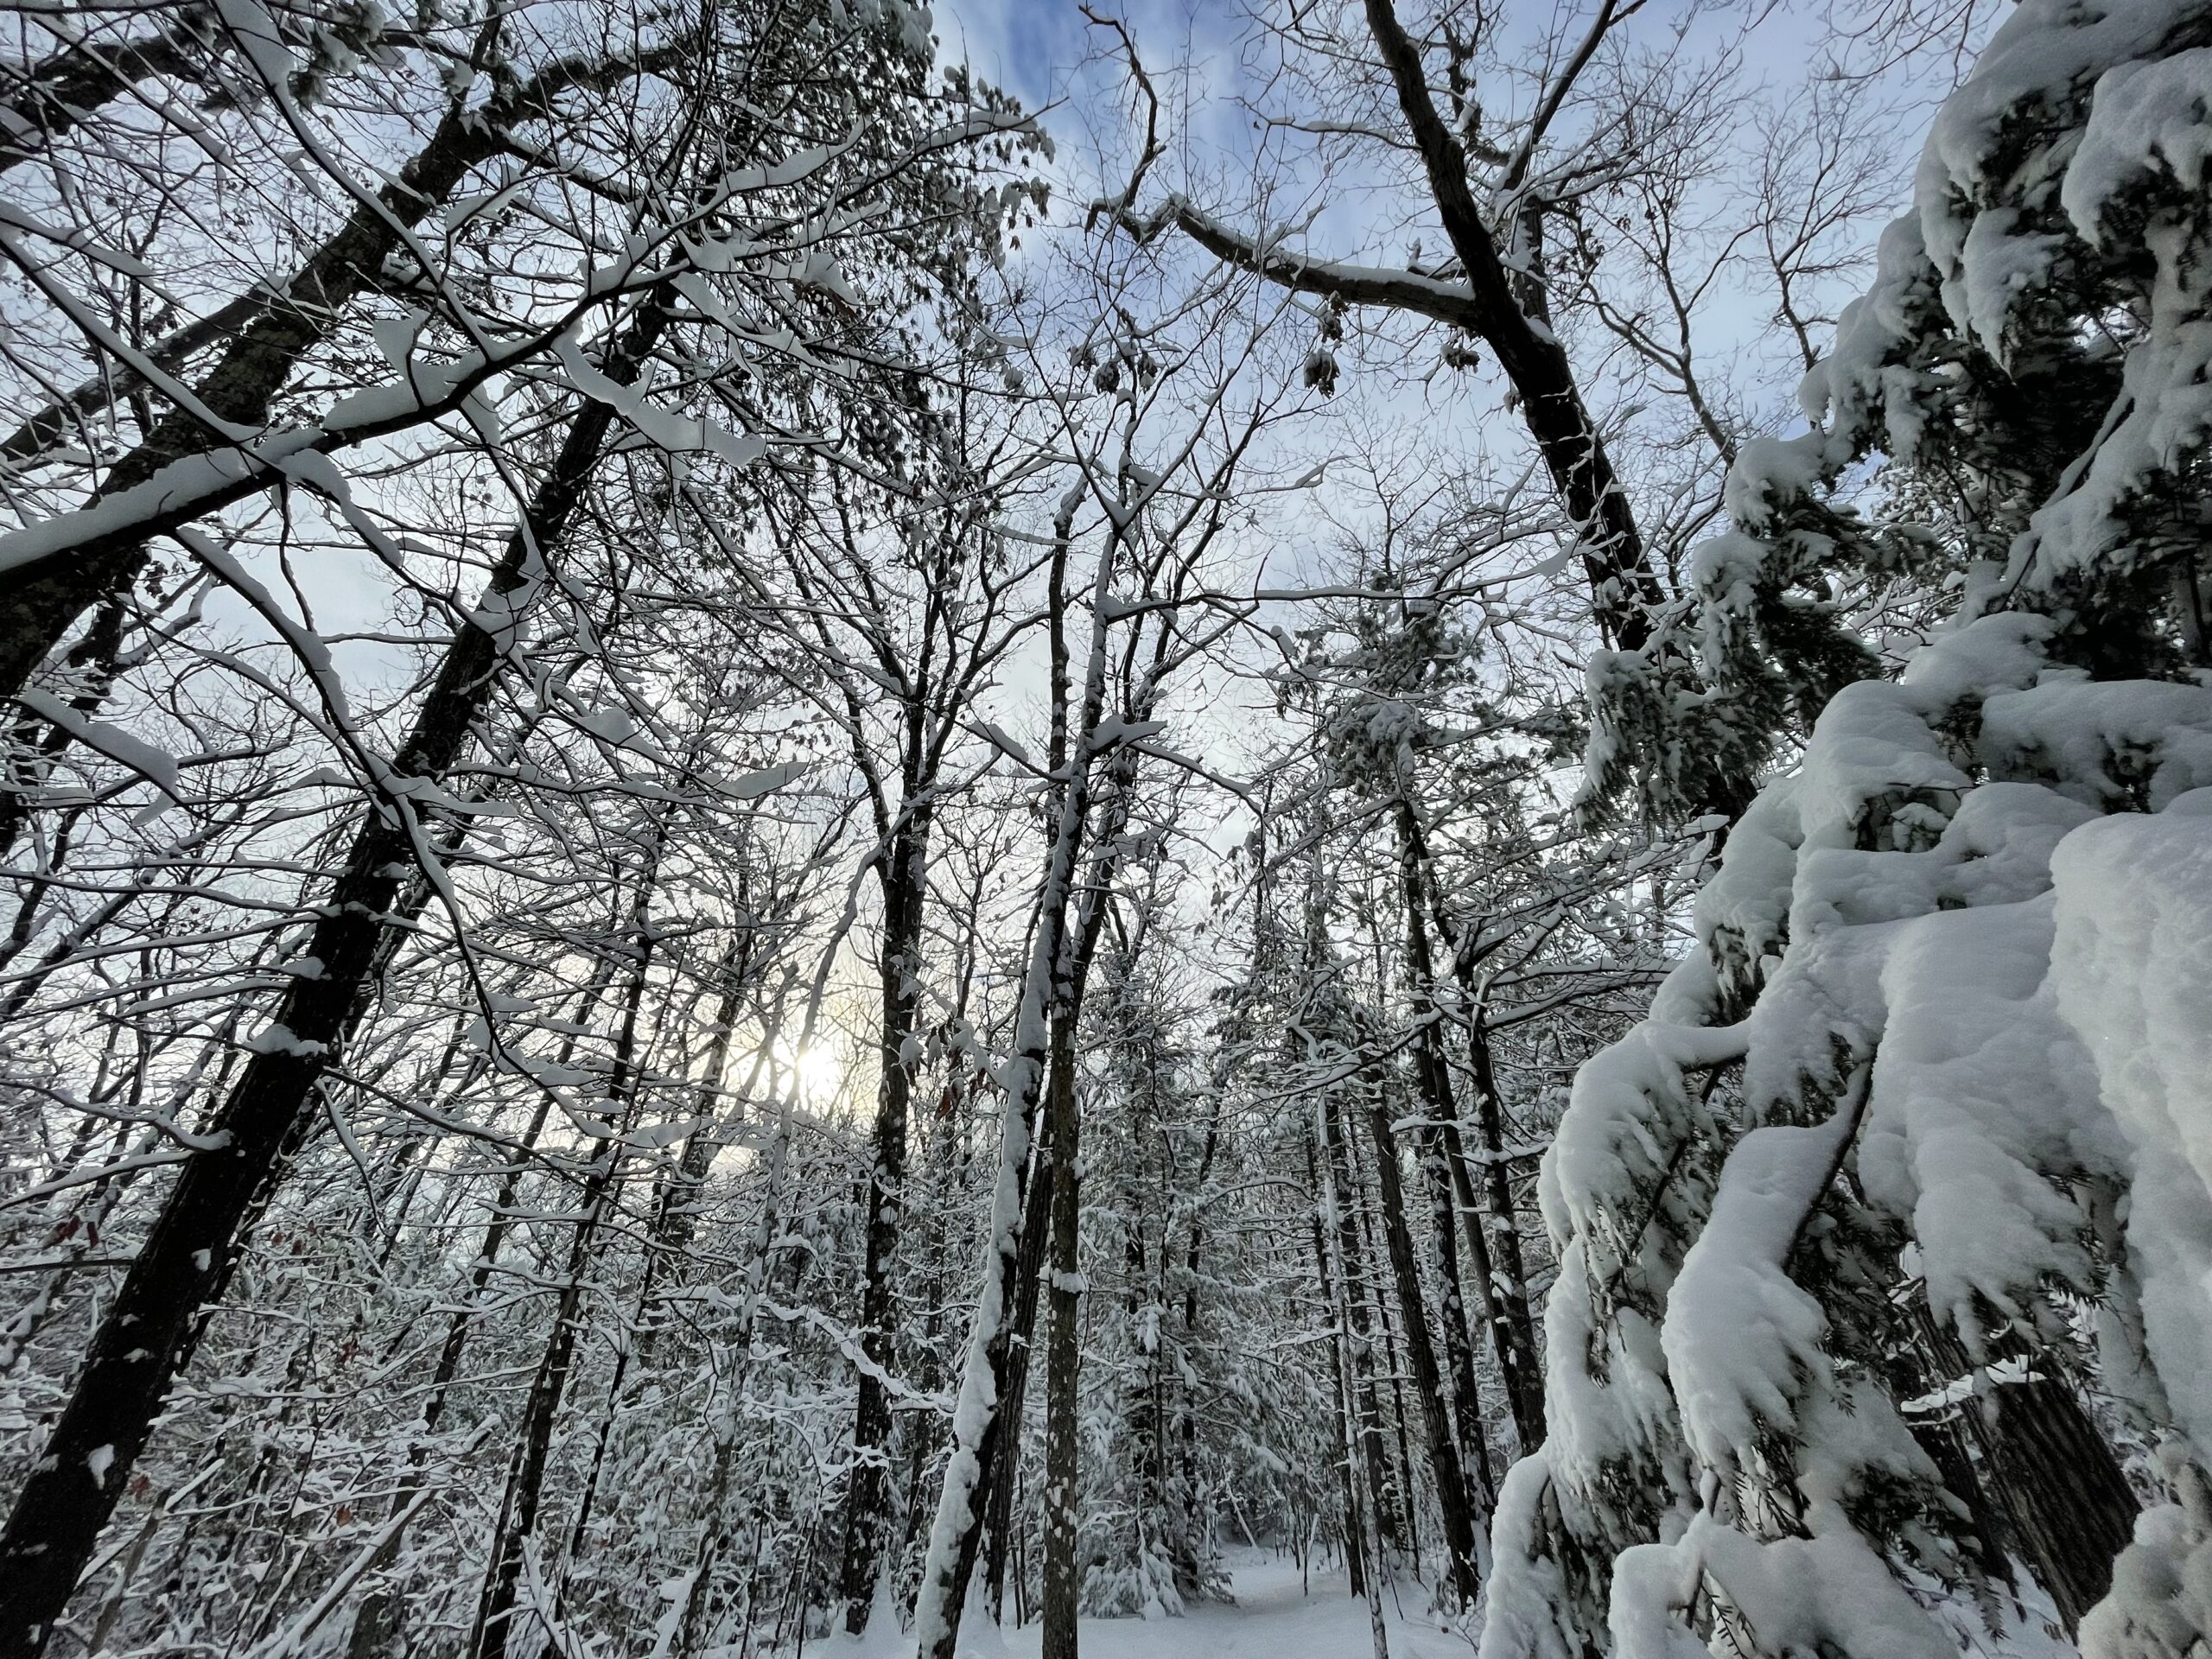
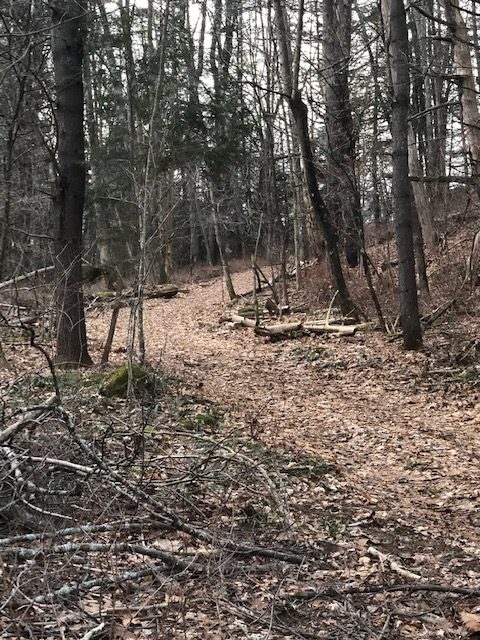
New bridges seemed to indicate the trail was well maintained, although lightly used by other than the maintainers. The first mile was marked with blue blazes and small green and white arrow placards. The trail skirted a few homes and what appeared to be a horse farm before turning north and heading straight up the ridge to Boardman Mountain.
Red Flags
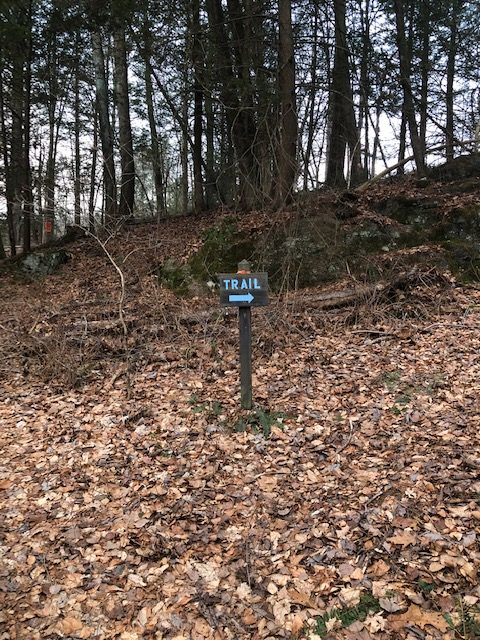
My first red flag was the pink tape that replaced the placards. Once I had finished the climb up to Stats Rock, I came out of the woods into an old field. At this point, there was pink tape, which I followed until I came to a stone wall. It was obvious the trail traveled through the wall, and placards with green arrows pointed to the left, down an old Woods Road. There was also a kiosk in the distance, which is usually a good sign.
I glanced right after the wall and saw no placards in that direction, where the road continued down the ridge. Glancing at my map, the directions appeared correct (I later realized I was holding the map upside down – no comments, please).

Wrong Way
Like a dog on point, I aimed for the kiosk and glanced at it as I marched right past it and down a more frequently used dirt road. I walked down the dirt road, past a boundary sign, and continued onto a paved road. I began to slow down about a half mile past the kiosk as I noted a private drive sign and began passing residential homes.
At this point, I decided to take a better look at the map. Flipping the map in the other direction, I realized I had gone the wrong way and turned back up the hill to where I had taken a left at the stone wall. Peering down the woods road, I saw a small white placard. Ah ha…..
Trail Placards
I was frustrated with myself at this point. Instead of using the map, I lazily followed placards pointing in the trail’s opposite direction. In addition, the placards were confusing. Once I reached the edge of the woods and loop trail, there were two placards with slightly darker green arrows than the other. It would have been nice to have two different colors. Again though, I just needed to use my map.
Loop Trail
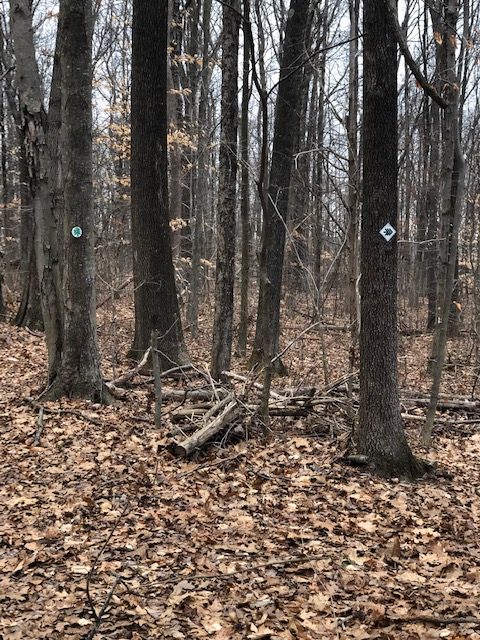
The Housatonic Ridge Trail turnoff led to a small loop that rejoined the main trail. A dark green arrow pointed right, and a lighter green arrow pointed down the main trail. I took the loop, assuming there must be something of note. I should have stayed on the main trail.
Lost Trail
Rejoining the main trail, I headed off the ridge and past a wooden fence line. The trail climbed over a small ridge before dropping down to a small creek and into a low-lying area. Two whitetail deer were bedded down in the leaves and leaped up with a flash of their white flag tails as they headed over a small hill. They were big girls and eating well.
After crossing the creek, I spent at least 15 minutes searching for the trail, placards, blazes, etc. – anything indicating I was going in the right direction. My maps indicated I was on the right path, but I did not trust this new trail, so I turned around and headed back to the car.
Better Prepared
The one thing I should have brought was my GPS. There was good cell service in this area, so I would have to experiment with the GAIA GPS app I downloaded. I did not want to carry both a phone and GPS if not needed.
I’ll be back soon to get this trail ironed out.